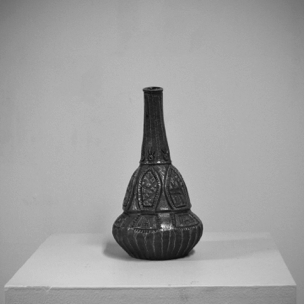
Before bringing work to the media room for documentation make sure that the work has been cleaned. Clean work is essential to the longevity of our backdrops and lighting area. The media room is equipped with a shooting table and seamless gradient backdrop for small 3D works. This setup is best for items that are no larger than 30” wide and/or 50” high. Works larger than this will be shot in a gallery-replicated format using a white background and pedestal.
Documenting your work
First you will need to check your camera’s settings. Remember you can size an image down later, but not the other way around. Make sure that the camera is securely attached to the tripod and be aware of where the lights and camera are in relation to yourself at all times. For large or small three – dimensional work it is best to photograph on a sweep to minimize background distractions. The lighting does not need to be even like it does with 2D work, but it should be consistent within a series of work.
The ideal set up is a seamless white to black gradient backdrop (for smaller work) with one overhead light source OR a white pedestal with a white background (large work) and one or more light sources.
- Always shoot each piece more than once
- For a smooth running shoot, always make sure that the work is arranged from smallest to largest and that you shoot in this order too. It will prevent you from making major adjustments repeatedly
- Always place the object on the backdrop. Never drag or twist the object on the backdrop as its does scuff and stain easily
- Always use more than one lighting configurations for each shot
- Always let the media room attendant adjust the lighting for you
- Make sure that the bottom of your piece is parallel to the bottom of the camera viewer
- The more lights you use the more shadows it will cast on a piece Avoid using more than one light source unless it is crucial
- It is always a good idea to shoot a 3D piece from multiple angles and to take a detail shot of the work
- Download your images immediately after the shoot
- Return all checked out equipment
- Clean up and remove all artwork from the media room
A seamless gradient backdrop is situated on the shooting table. The black part of the backdrop is at the top and the white in the area where your piece will sit. With this backdrop the “ideal” lighting configuration is one overhead light. Please avoid using other backdrops for 3D work; items such as grass, black velvet, cloth, etc.
When photographing your work make sure that there is extra space around the object. You can always crop out unwanted additional space to create your final image. You cannot add a backdrop once the image has been taken. Make sure that your image is center in your final product.
For this set up make sure there are no objects on the wall or in the shot you will be taking. You will want to take multiple shots with multiple lighting configurations. The recommendation would be 2 lights with umbrellas at equal height and distance set at 45-degree angles relative to the art. Know that a singular over head light source OR the combination of both might be better depending on the size of the work.
Low-key Set up
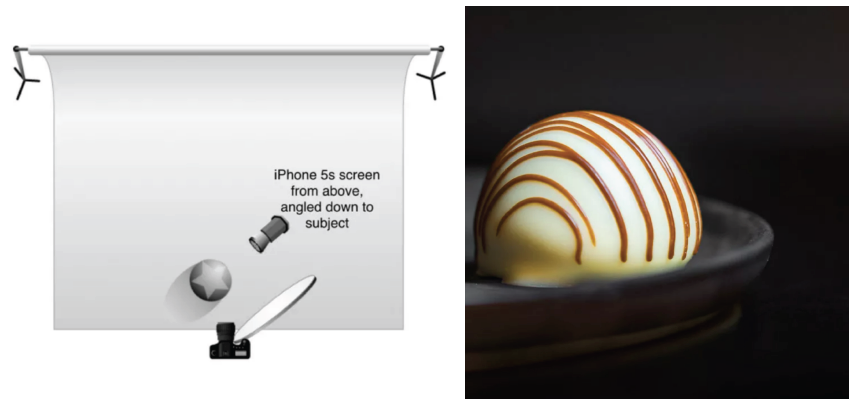
Another setup option, that is distinctly different is a low key set up. This photographer has used an iPhone screen as their light source and a reflector to bounce some light back into the shadow areas. The stark black background could be a little too dramatic for artwork documentation but it could be substituted for a gray background/sweep. For 3D work try using a single key/primary light and then using a reflector (tin foil folded around a piece of cardboard, or a cars sun visor if you’re working outside of the photo studio) or bounce card (white foam core board work great) to bounce a little light into the shadow areas.


