Absence Guide – Redwood
Last Updated: 04/16/2026
You will use the Absence tile to request sick leave.
Absence Balance
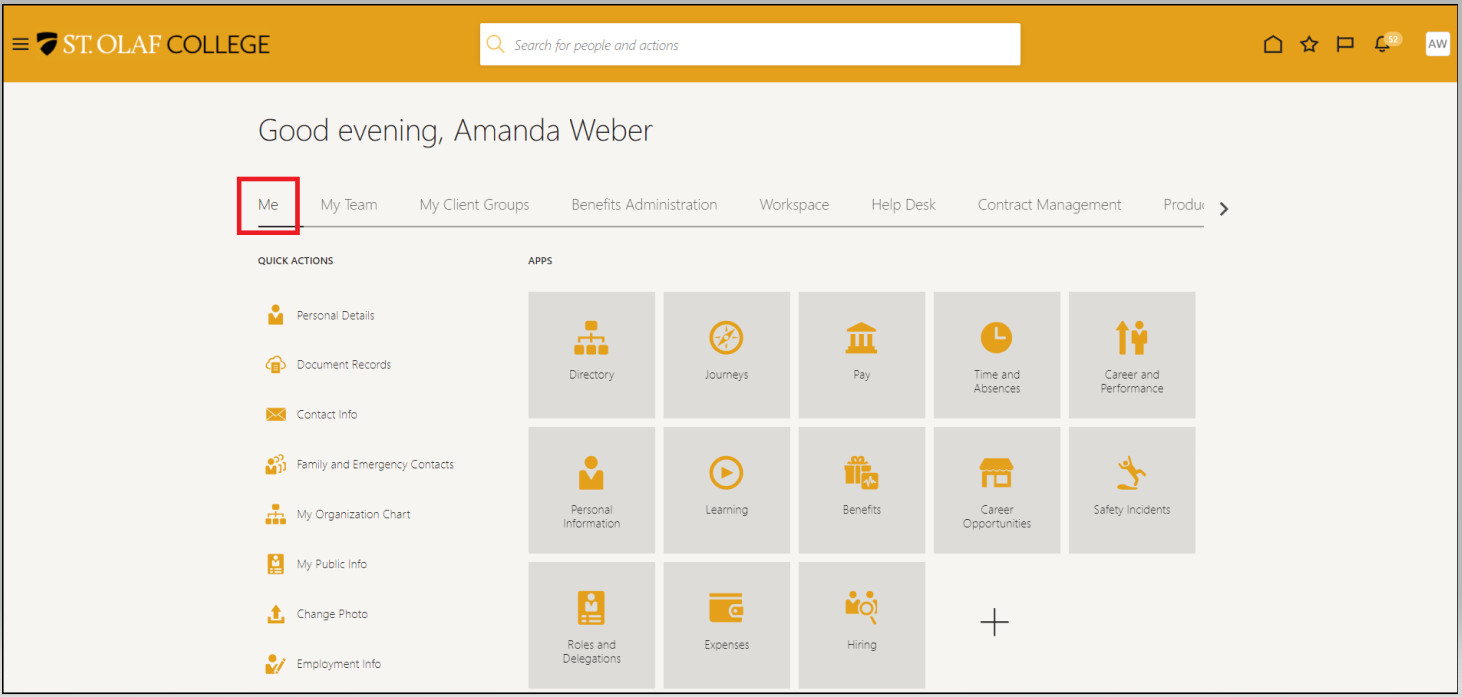
Go to “Me.”
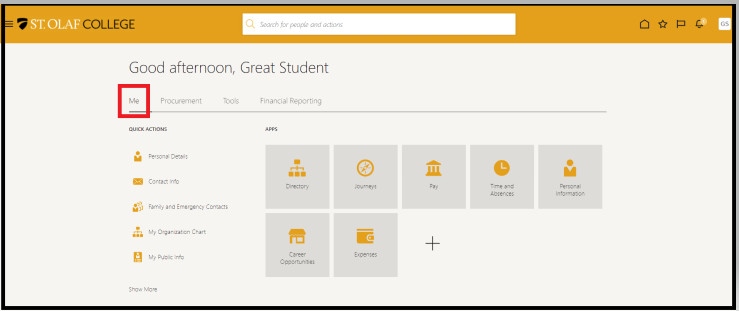
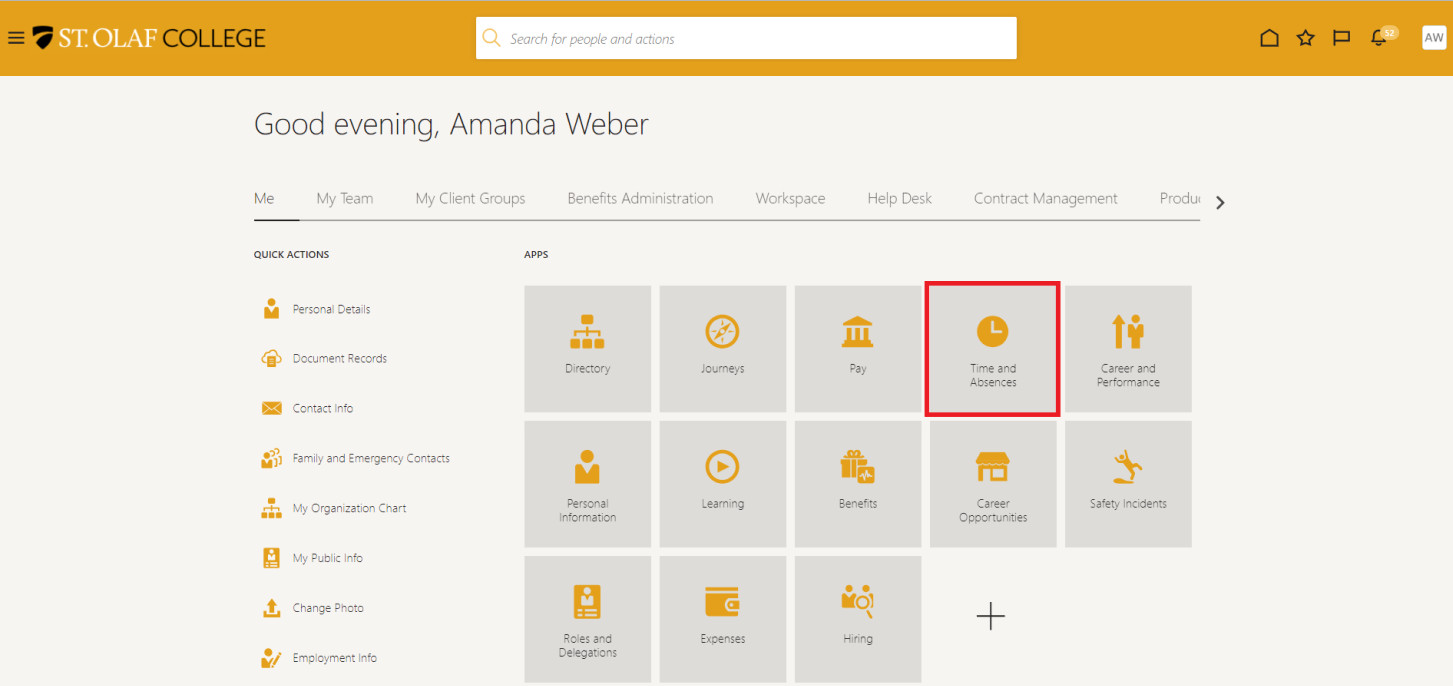
Click on “Time and Absences.”

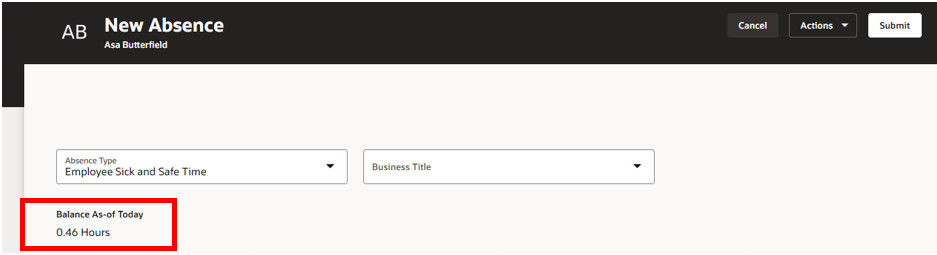
Click on the “Add Absence” tile to view your Absence Balance, which will be a balance of your Sick Leave. Your Absence Balance will be accrued time based on your hours worked.

Use the dropdown menu to select the type of absence balance you wish to view.
Click on the absence type to view your balance.
Note: “Sick Leave” is the only Plan Balance available to student employees. The system will not allow you, as a student employee, to choose any other Plan Balance.
To view additional information about your accrual and usage of Sick Leave, click on the arrow across from “Details.” You can read about accruals under “Absence Requests” below.
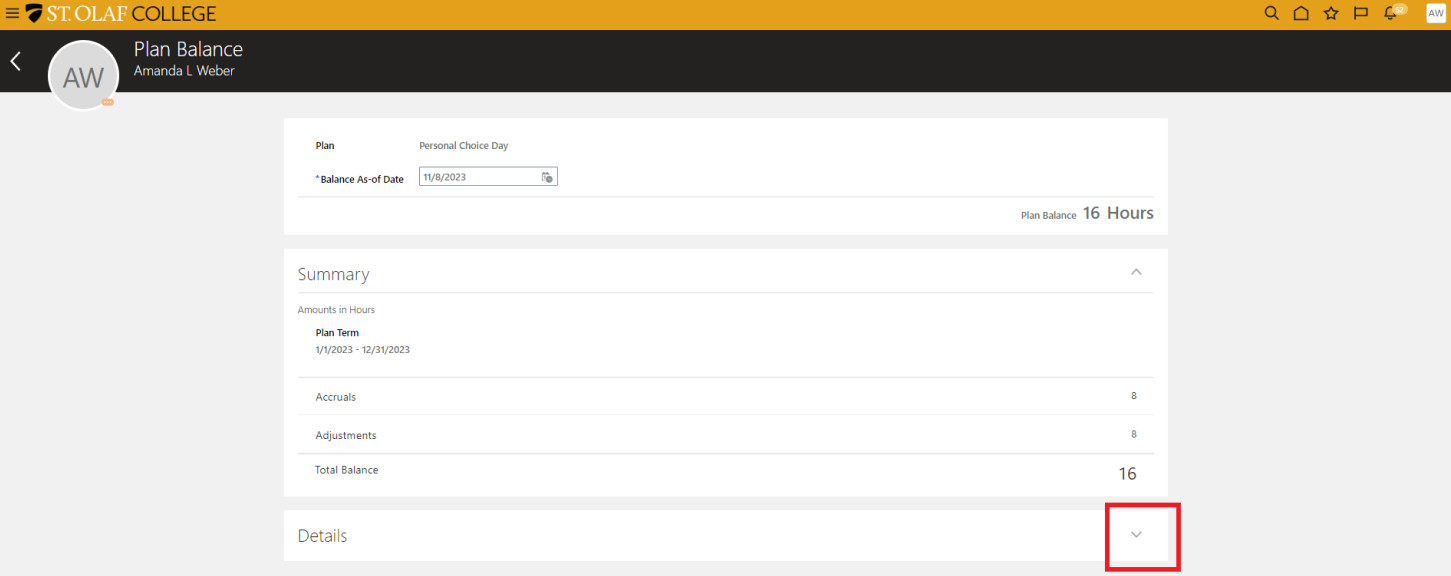
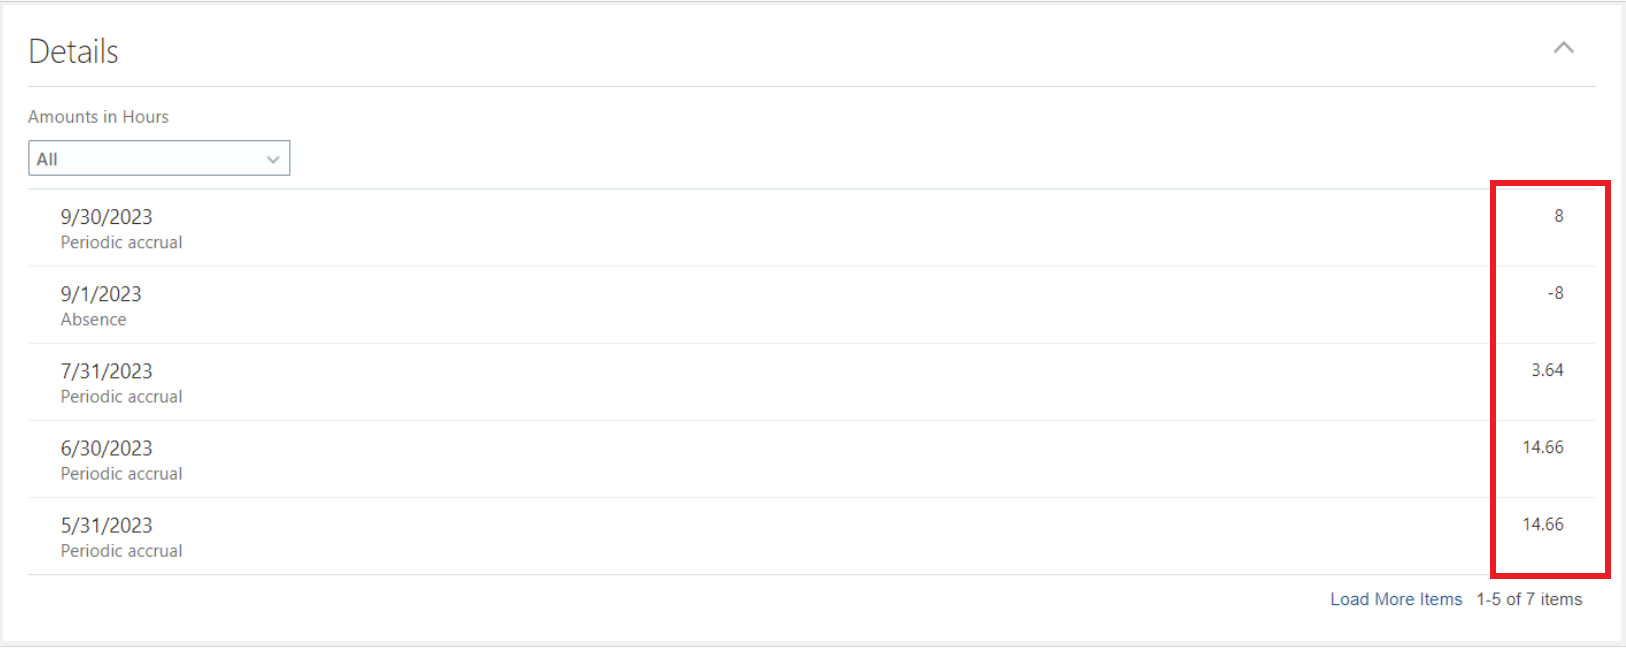
In the “Details” screen, you can see whether you have reached the maximum accrual and if you are now losing accrued time.
Example: The “Periodic accrual” should be 14.66 hours each month. You will note that, for 7/31/2023, the accrual dropped to 3.64 hours.
Absence Requests
Go to “Me.”
Click on “Time and Absences.”
Click on “Add Absence” to request time off.
Student employees with accrued time can request an absence in any increment of time so long as that absence falls under Minnesota’s Safe and Sick Leave Law.
Please review the policy for details about absences that qualify.
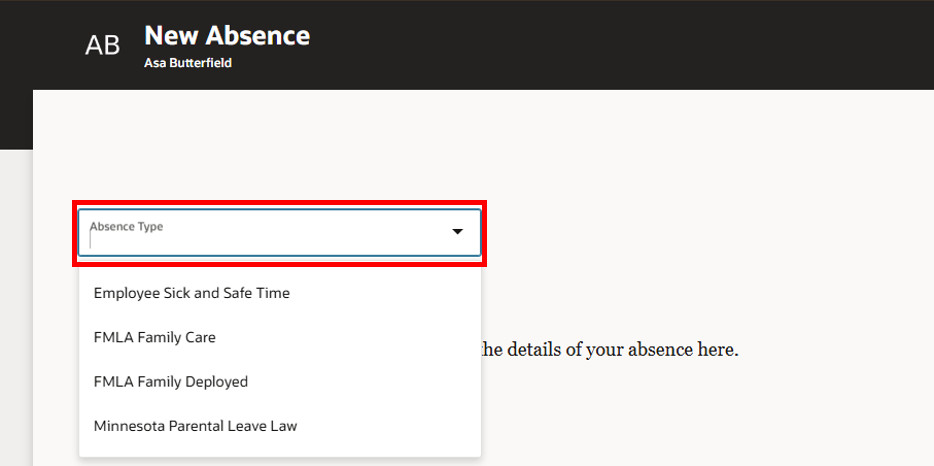
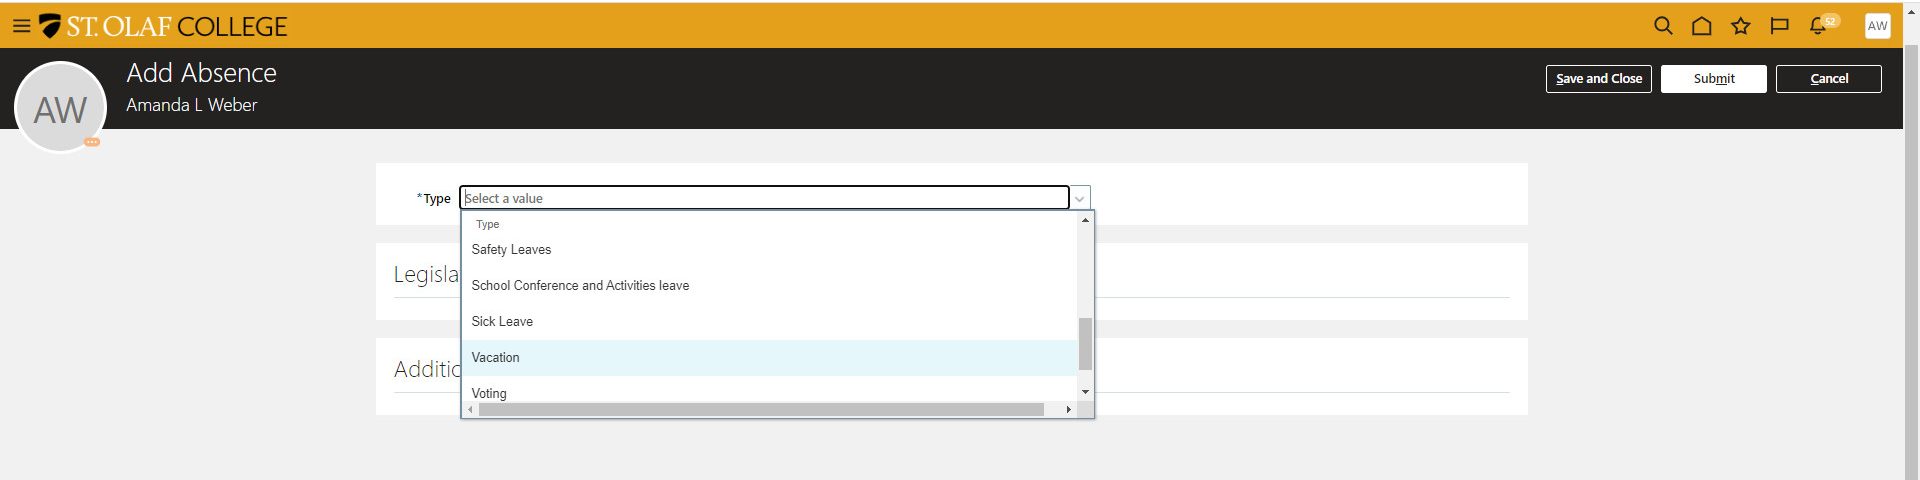
 On the “Add Absence” screen, you will see a drop-down menu with types of absences. Scroll through the list, and click on the type of absence you want to select.
Again, please review the policy for details about the types of absences that qualify under Minnesota’s Safe and Sick Leave Law.
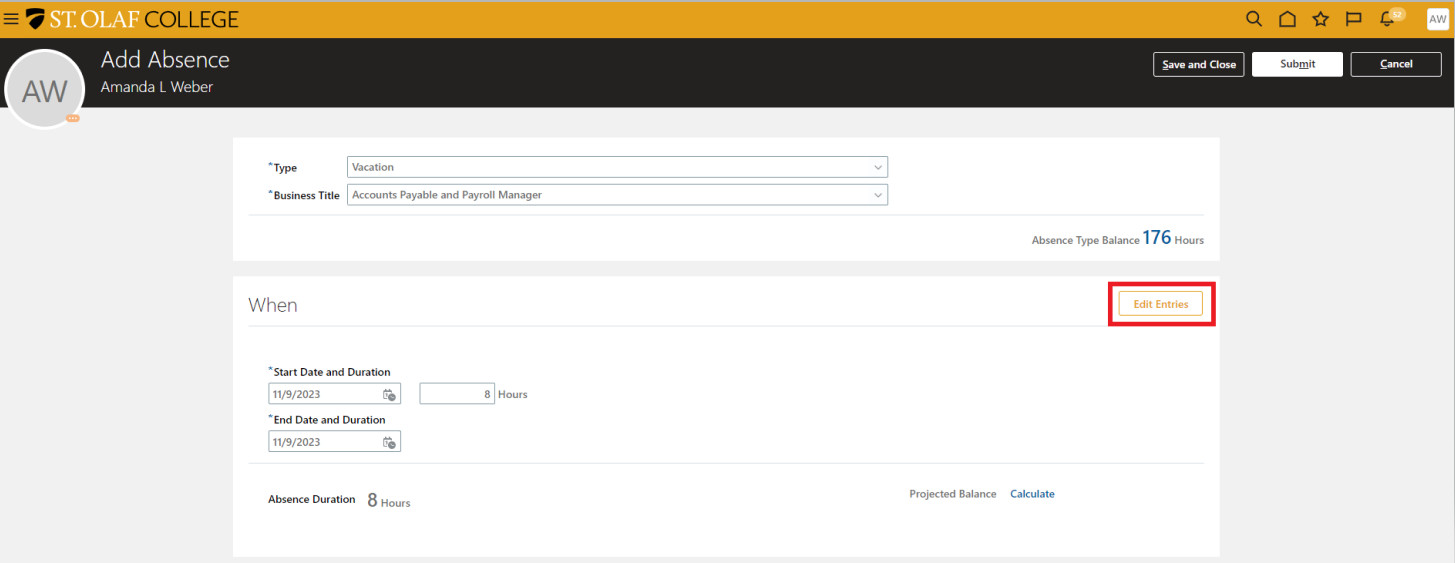
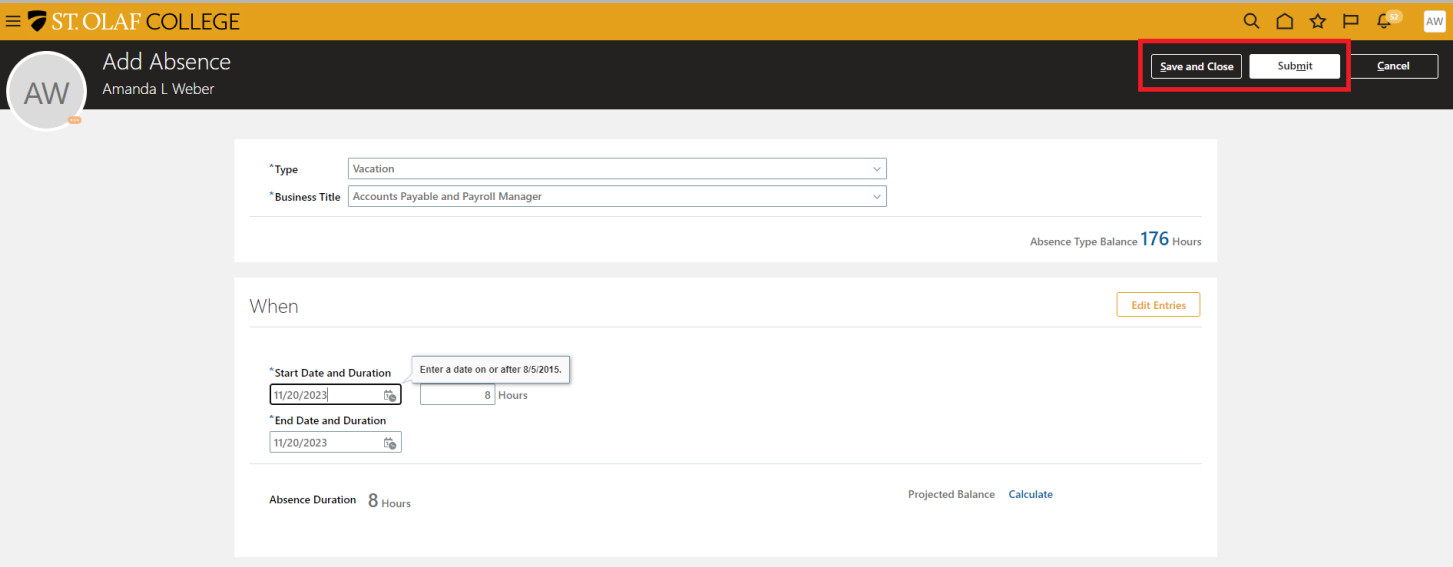
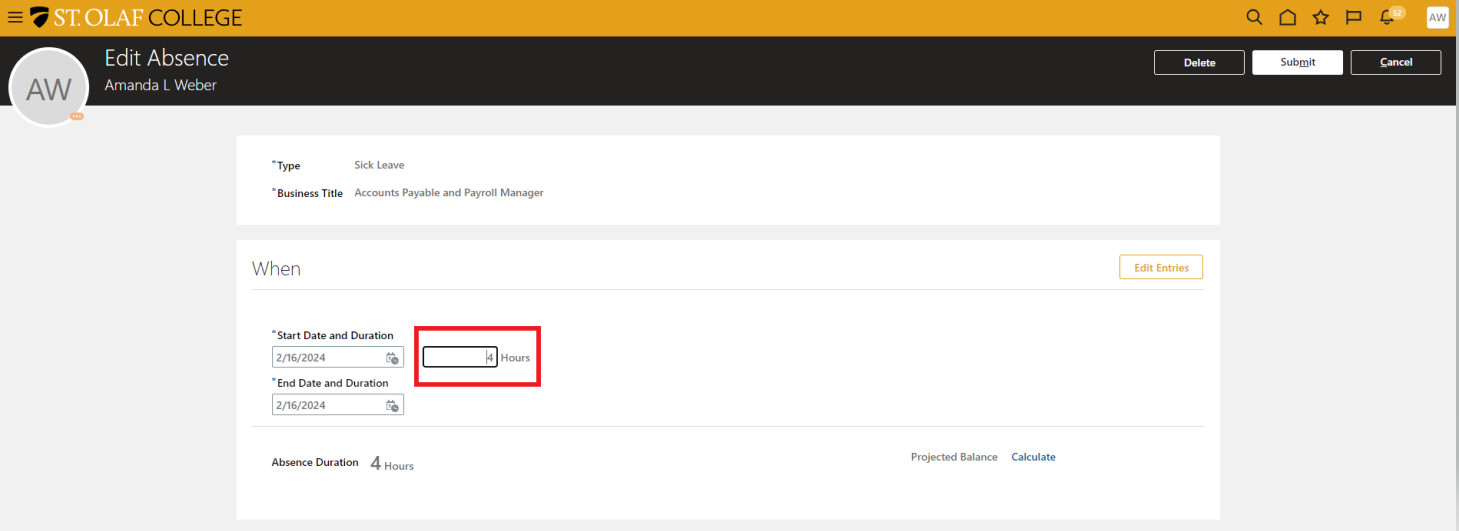
 For all absences, you must enter a Start Date and an End Date.
The system has a built-in work schedule and will try to match the dates you’ve selected with the hours you would typically work. To edit these hours, type the actual hours into the “Hours” field.
Note: if you have more than one assignment (job), you can have the absence tied to only ONE of your assignments.

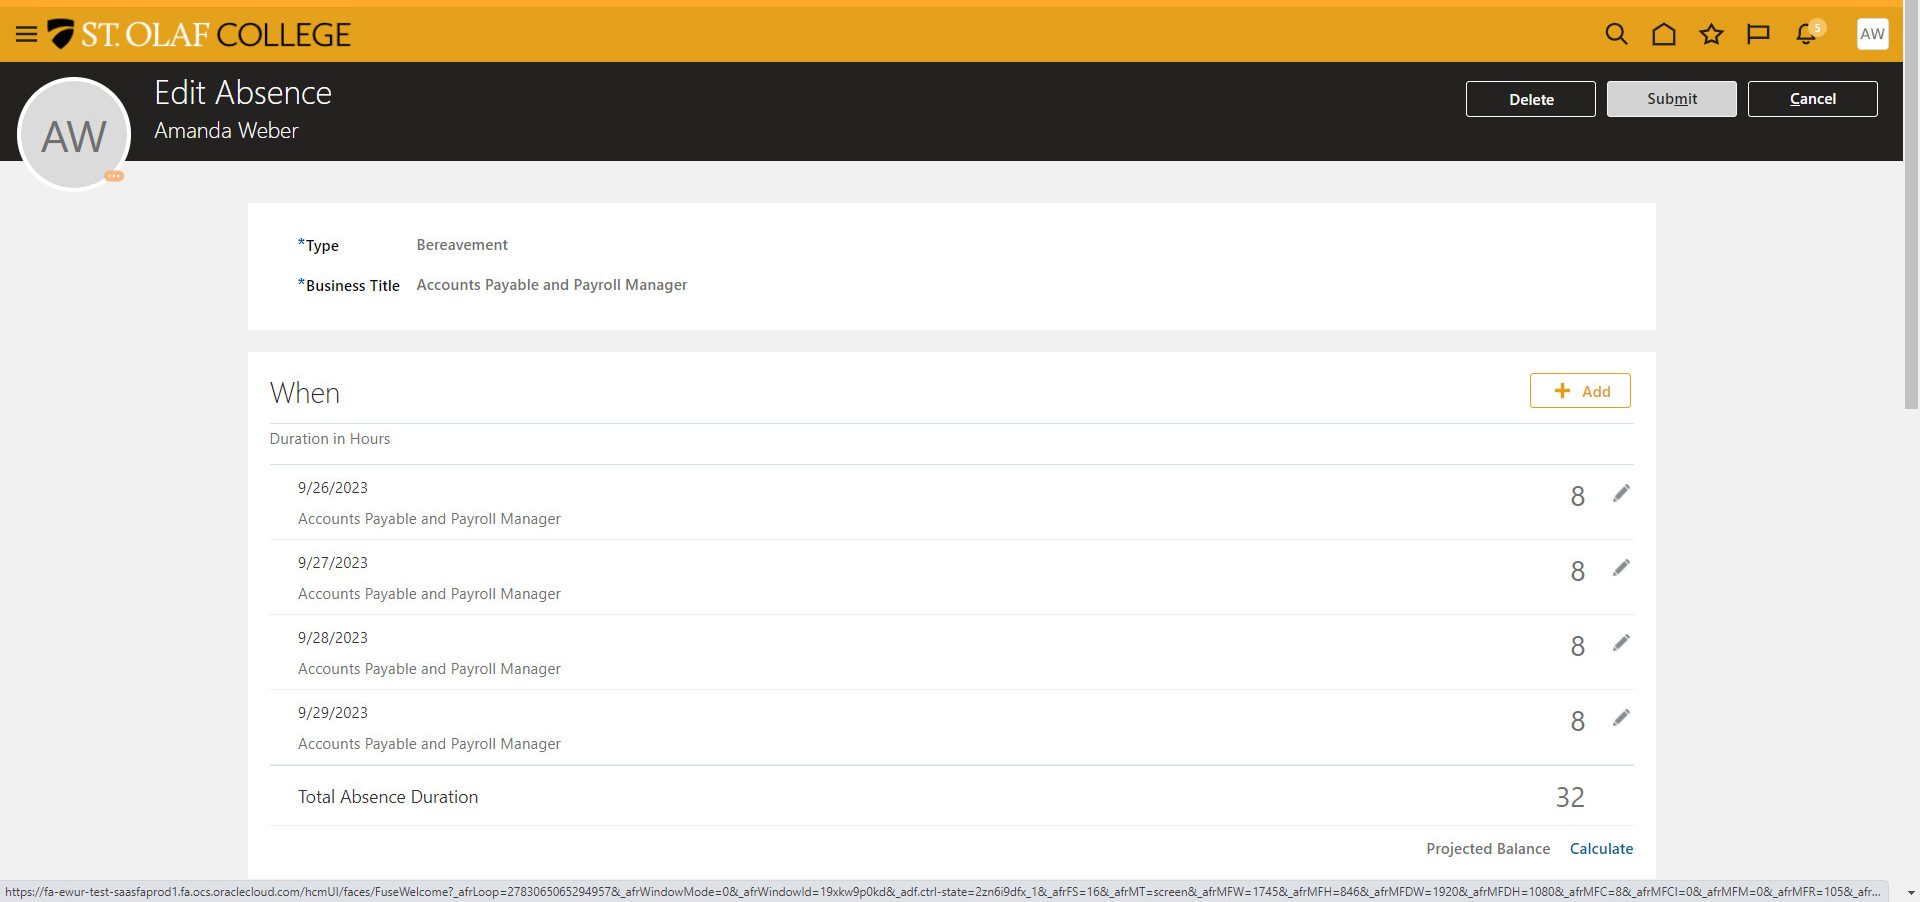
If the system does not allow you to change the defaulted hours, click the “Edit Entries” button on the right-hand side of your screen.
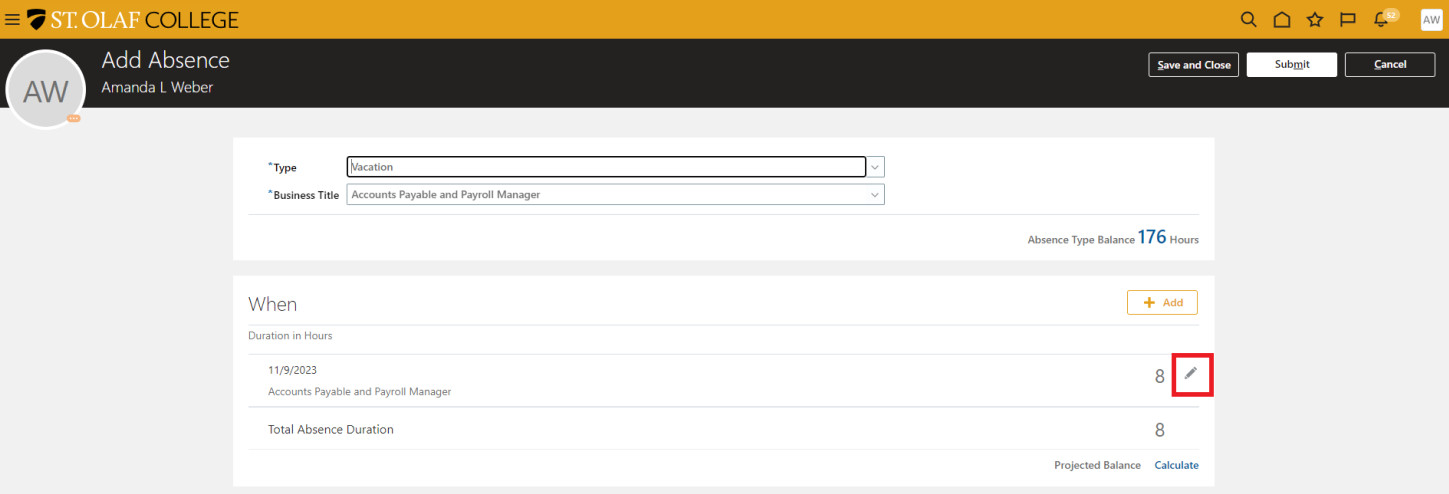
In the “When” section, click on the “Pencil” icon to edit your hours.
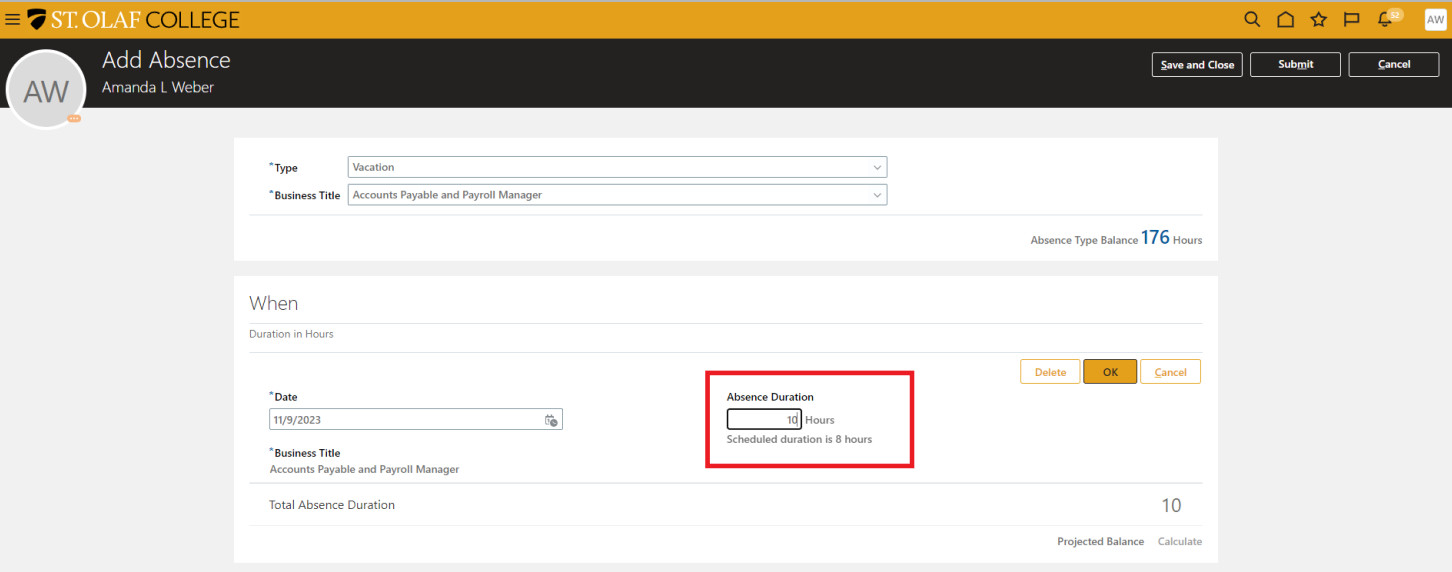
 Once you have changed the defaulted hours to the number of hours you want, click “OK.”
After you’ve entered your absence request, click “Submit” at the top right-hand corner of your screen. Your absence request will go to your supervisor for approval.
Viewing Requested Time Off
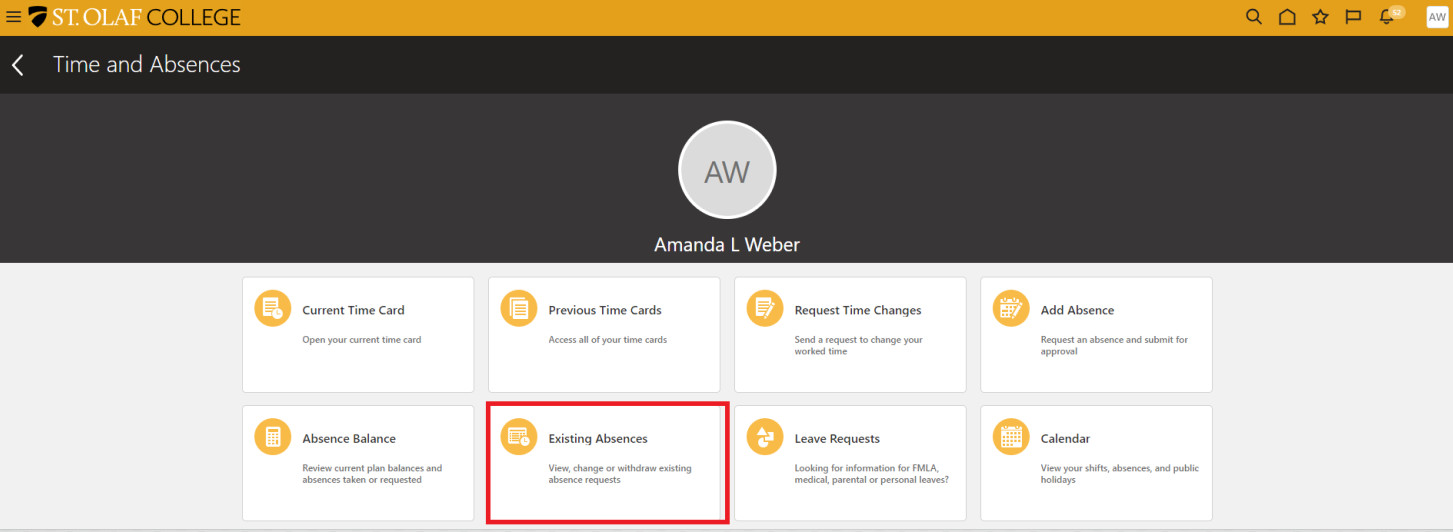
Click on “Existing Absences.”
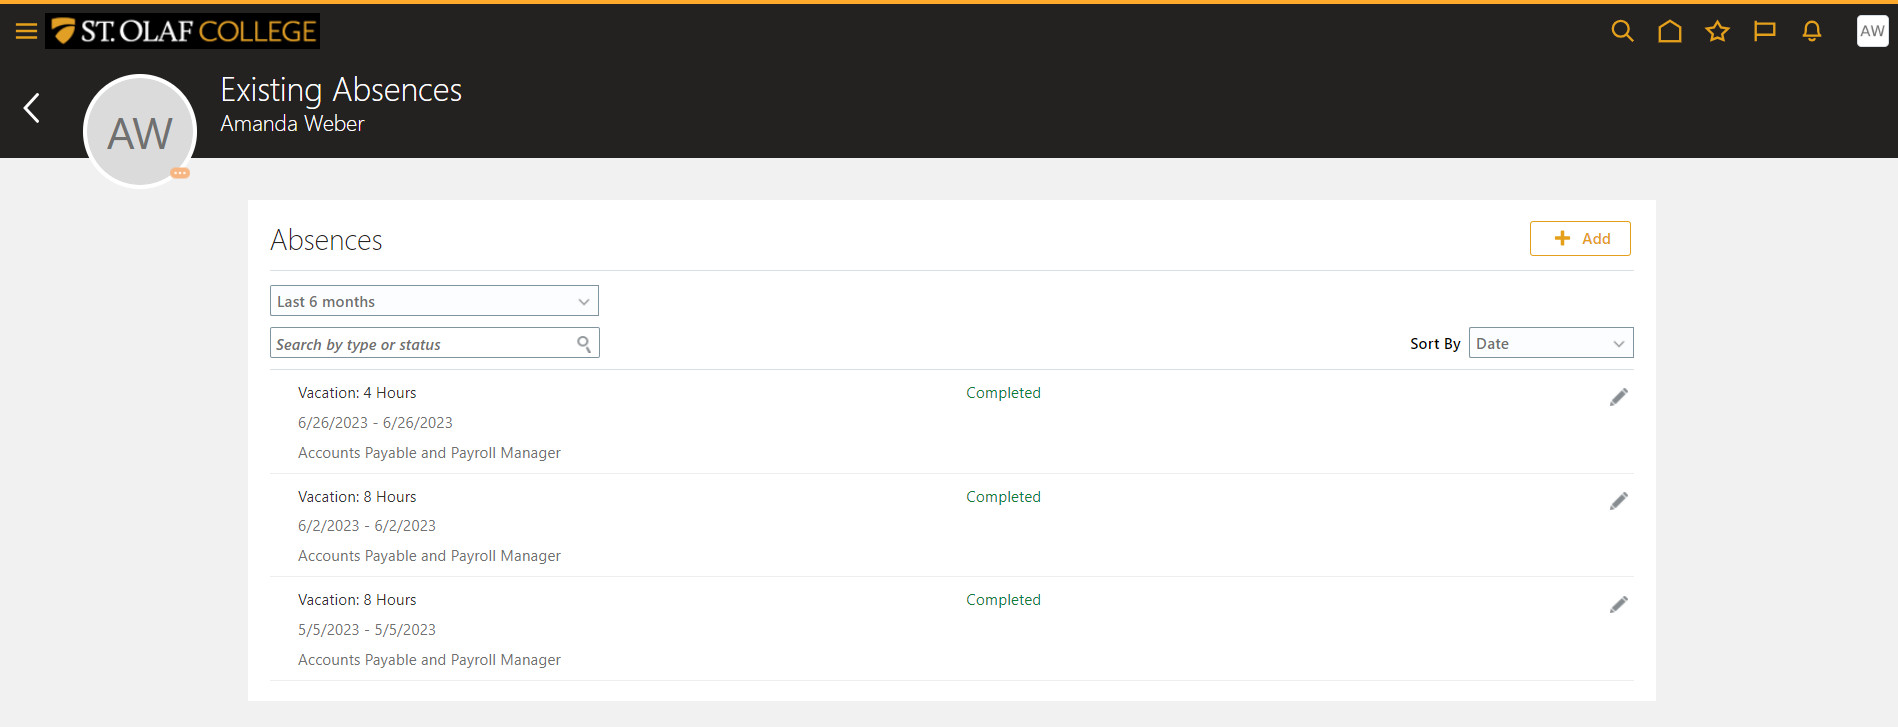
 On the “Existing Absences” screen, use the drop-down menu to find the correct time period (below, “Last 6 months”).
Canceling a Previously Requested Absence
Click on “Existing Absences.”
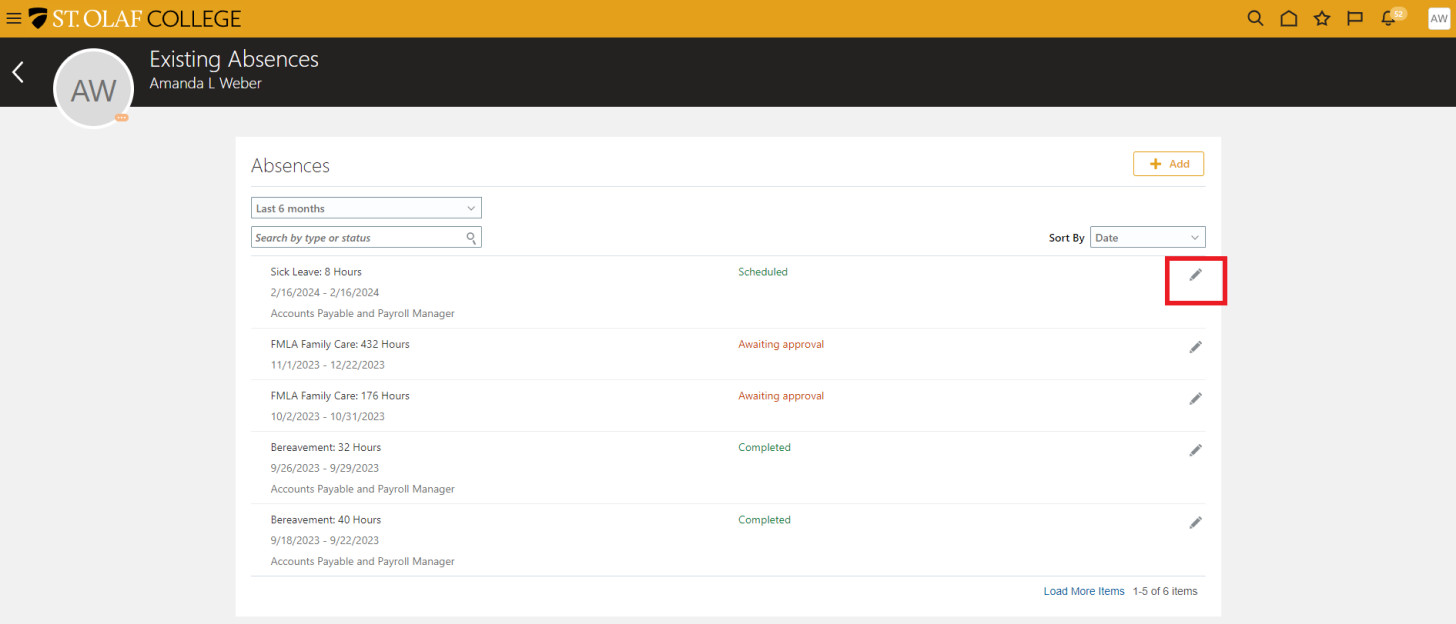
Click on the “Pencil” icon next to the absence you’d like to cancel or correct.
Example: You would like to delete an Absence Request that you shouldn’t have submitted for Sick Leave.
Edit your hours, and click “Submit.”
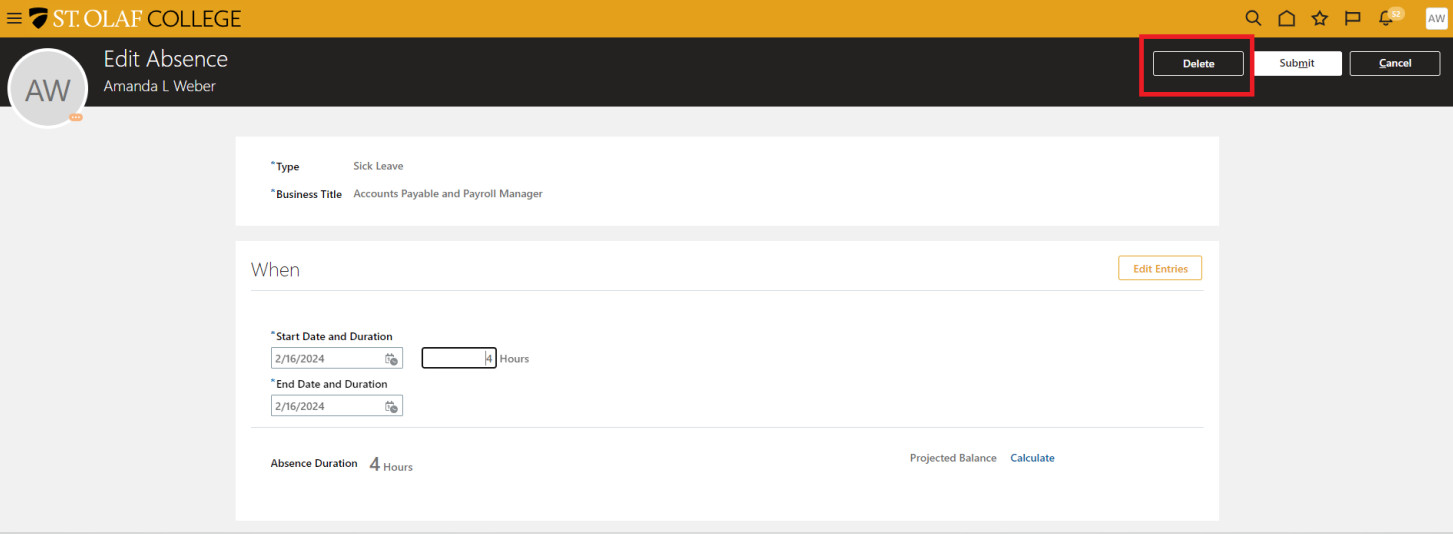
 If you need to delete your Absence Request completely, click the “Delete” button in the upper-right-hand corner of your screen.
 After you’ve made your changes, click “Submit.”
If you’re in “Edit” mode and you decide that you don’t want to change anything, click “Cancel.”
Notification of Approved or Rejected Absence Request
If your supervisor rejects your Absence Request, you will receive a notification on the bell icon on the upper-right-hand-corner of your screen. Click on the number, which will lead you to the list of notifications.

Click on the notification, which will show the status of your Absence Request..
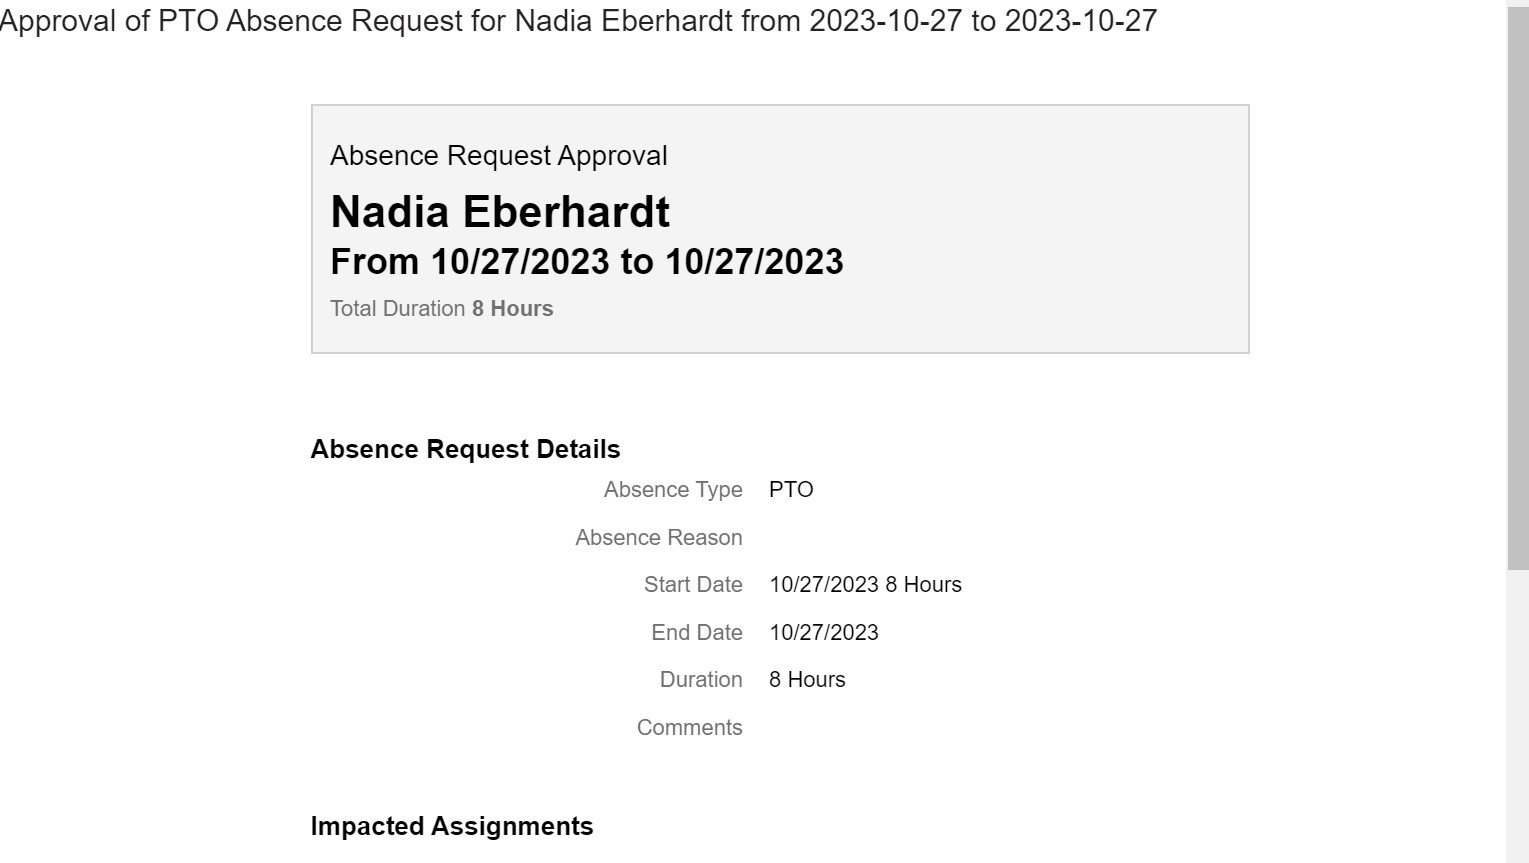
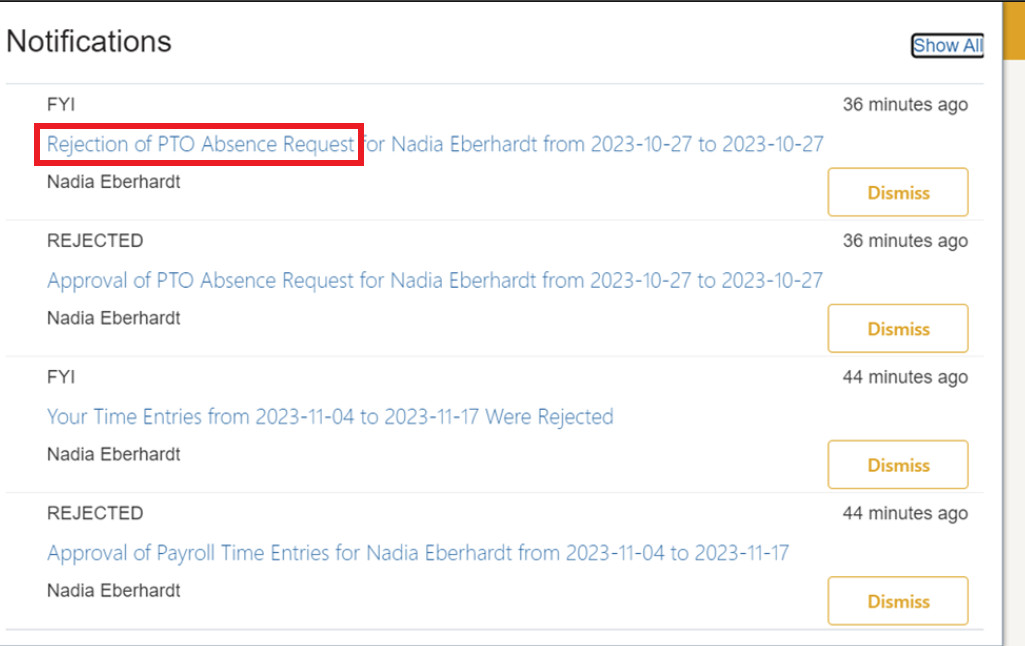 The notification of an approval or rejection will look like this: